
Create campaign
A campaign is created in three phases:
- Information
- Design and setup
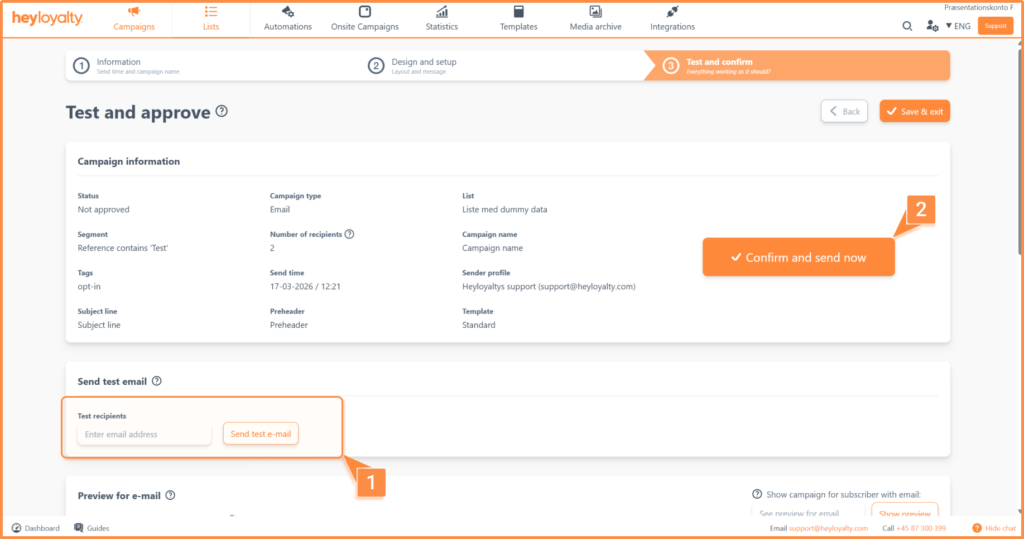
- Test and approve
We’ll start with the information phase. After clicking Campaigns → Create new campaign, you’ll see the screen below.
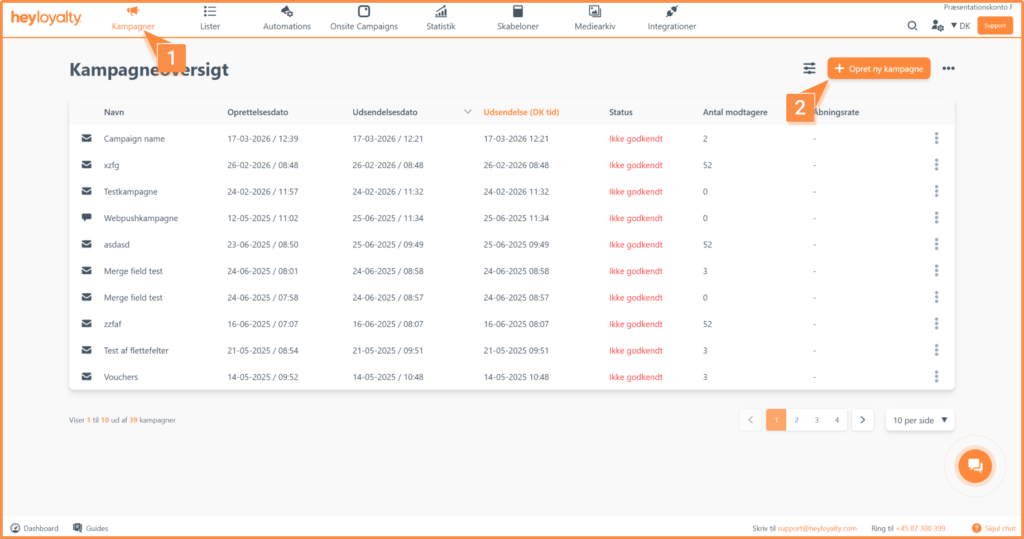
Campaign type lets you choose whether to send an email, SMS, SMS+ or web push (if you have purchased the add-on). In this case, choose email.
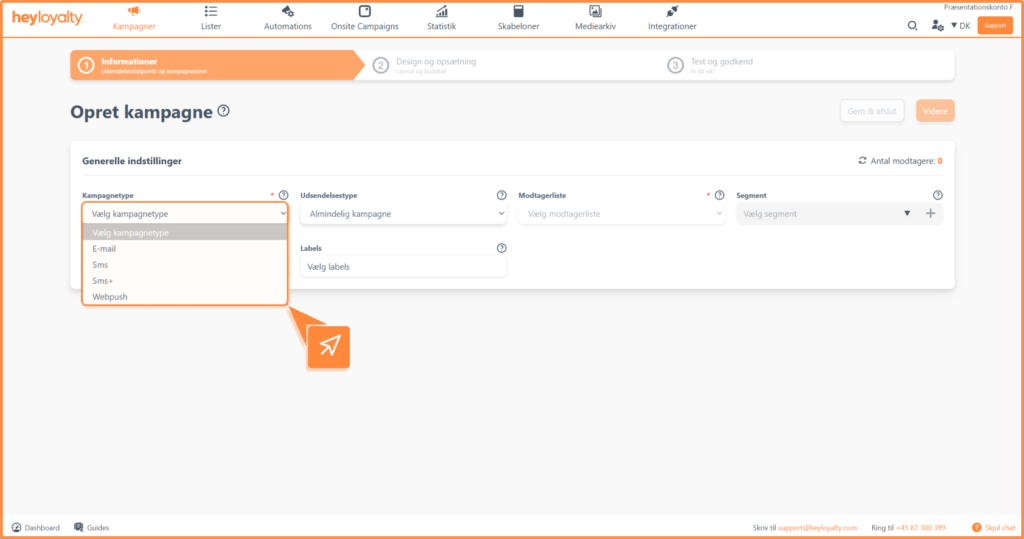
Under Send type, you can choose between Single campaign, Recurring campaign and A/B splittest campaign. You can find an in-depth guide on the latter here.
Recurring campaign lets you send a campaign automatically again and again at a specific time:
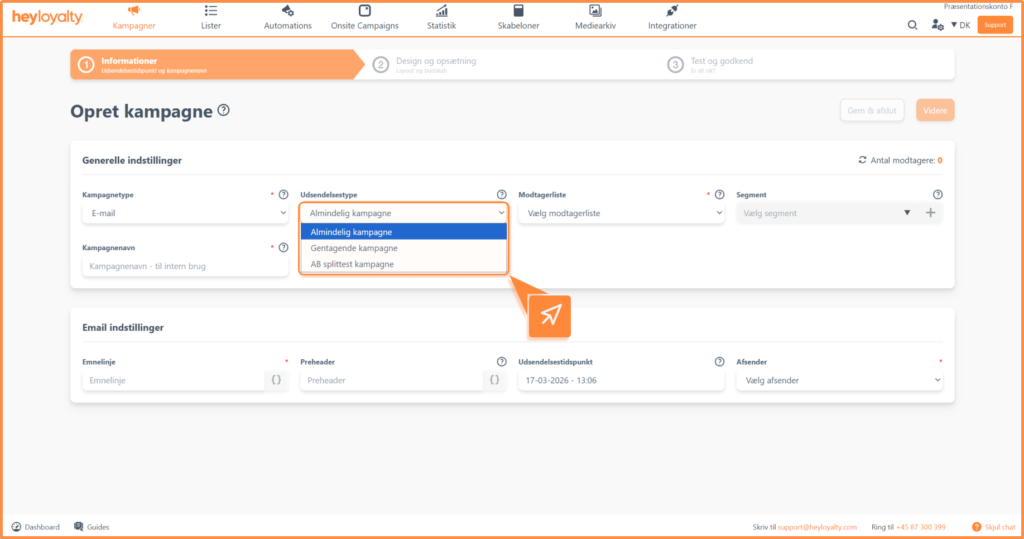
You choose the date and time of the first send and whether the campaign repeats on one or more specific weekdays or on one or more specific dates (e.g., on the 1st and 15th of the month). Finally, you choose whether the campaign should have an end date or not.
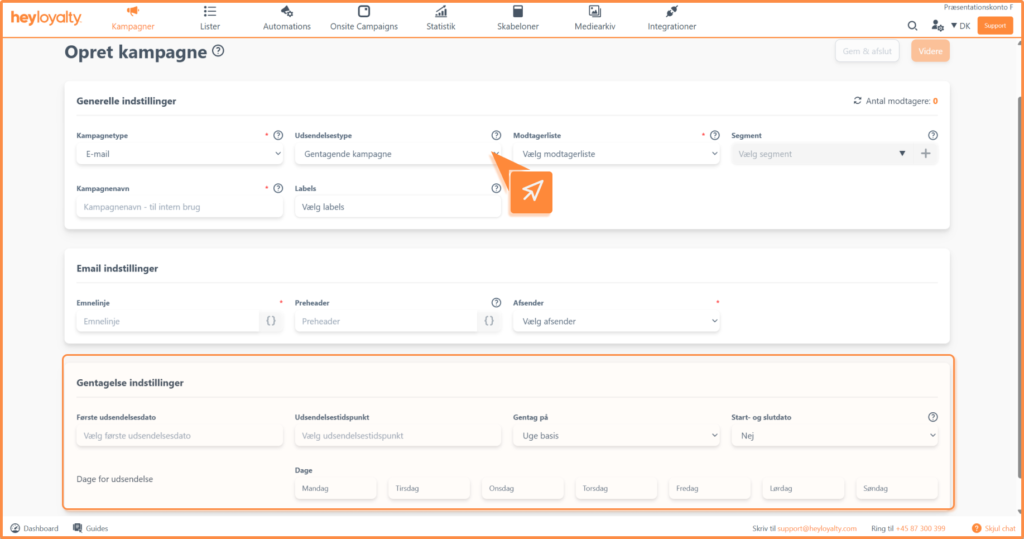
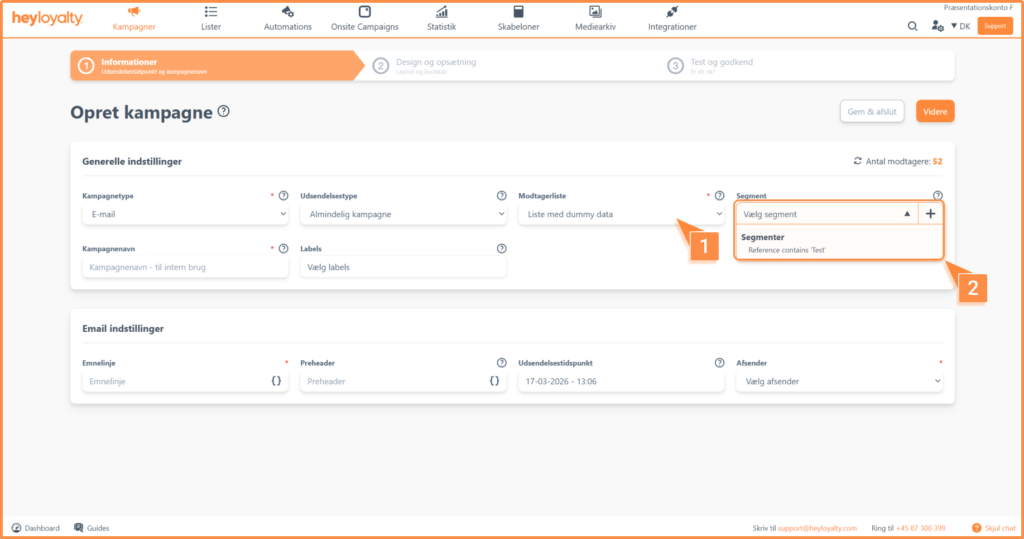
For now, however, we’ll select Single campaign and then move on to selecting a list and segment.
You can read more about simple segmentation and advanced segmentation by clicking the links.
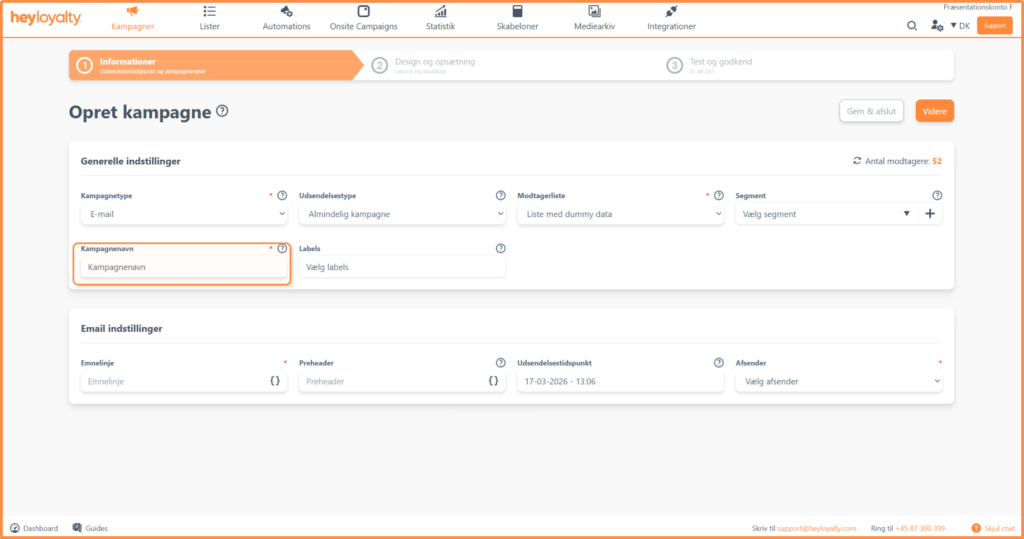
Campaign name is the internal name you choose for the campaign. As such, it is not immediately visible to your users. We say “not immediately” because the campaign name is part of the UTM parameters by default, so some of your users may be able to read the campaign name in the URL after clicking a link in the email.
Learn more about UTM parameters and link tracking.
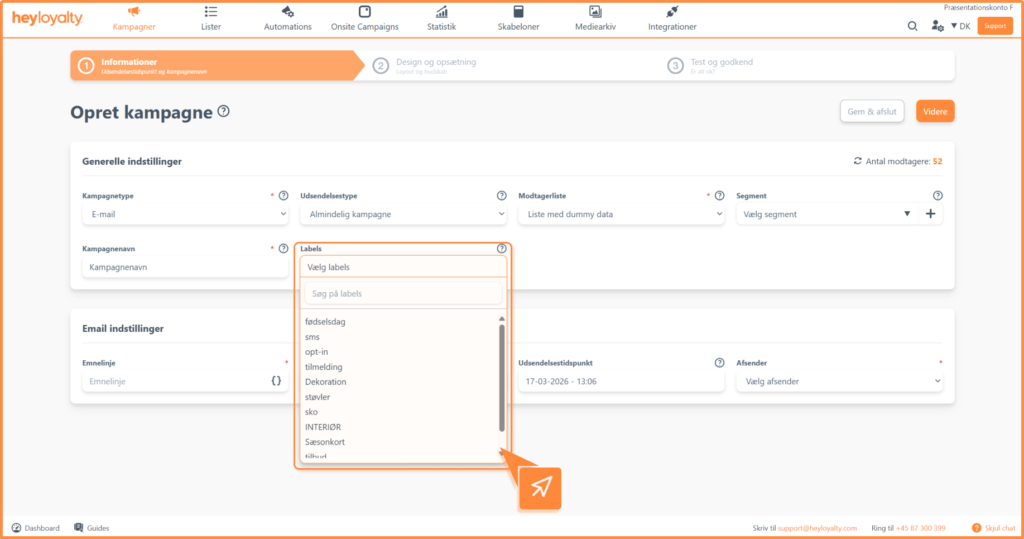
Tags are internal keywords you can choose to use on your campaigns. With tags, you can easily search for and get an overview of previously sent campaigns.
Many customers use tags to sort campaigns into groups such as ‘season pass’, ‘offer’, ‘Christmas greeting’, etc.
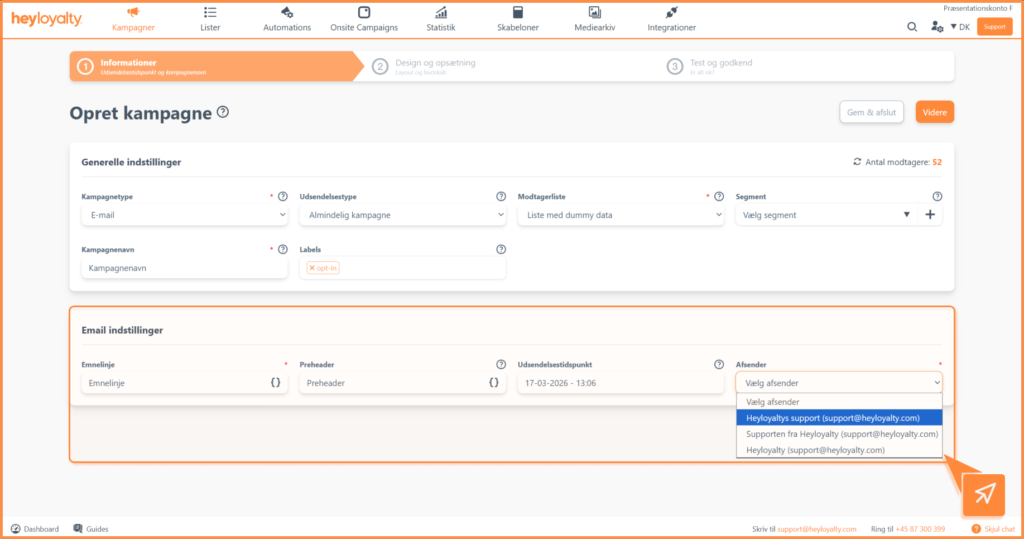
In the next box, you can select the exact send time and the sender profile you want to send the campaign from. This is also where you write your subject line and preheader. Try to keep your subject line to 30-50 characters and the preheader to 40-90 characters.
Once the fields are filled in, click continue, select your template and design the email.
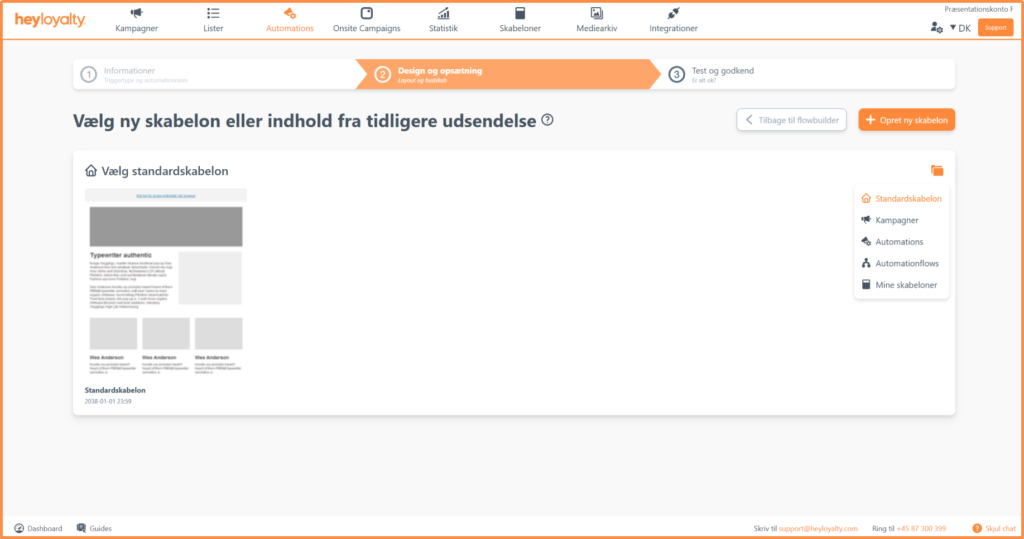
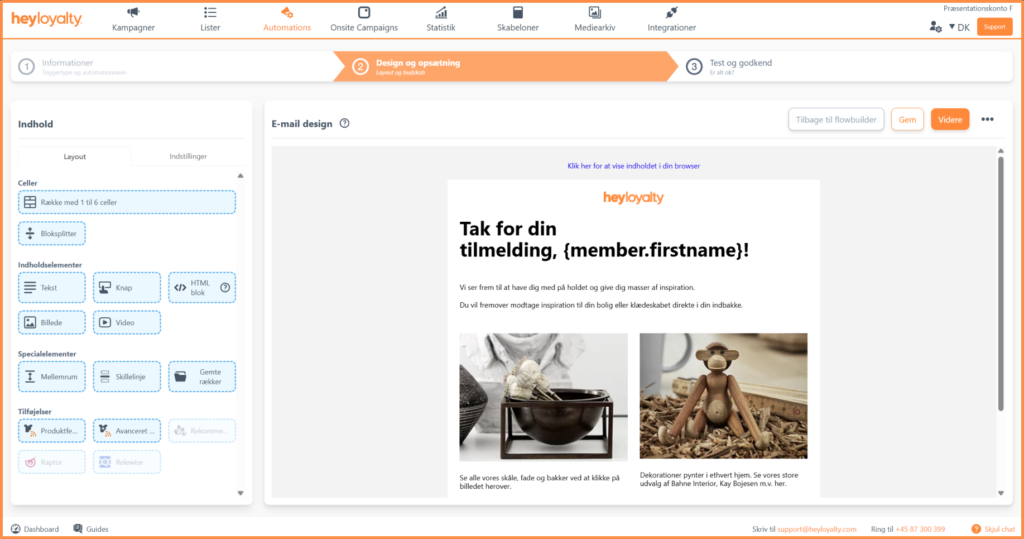
If you need help designing the email, read more about our drag-and-drop editor.
Finally, you have the option to test the campaign before approving it.

If you need information or help that you cannot find here on the guide site, you are always welcome to contact our support!
support@heyloyalty.com